5 Crafts For Preschoolers
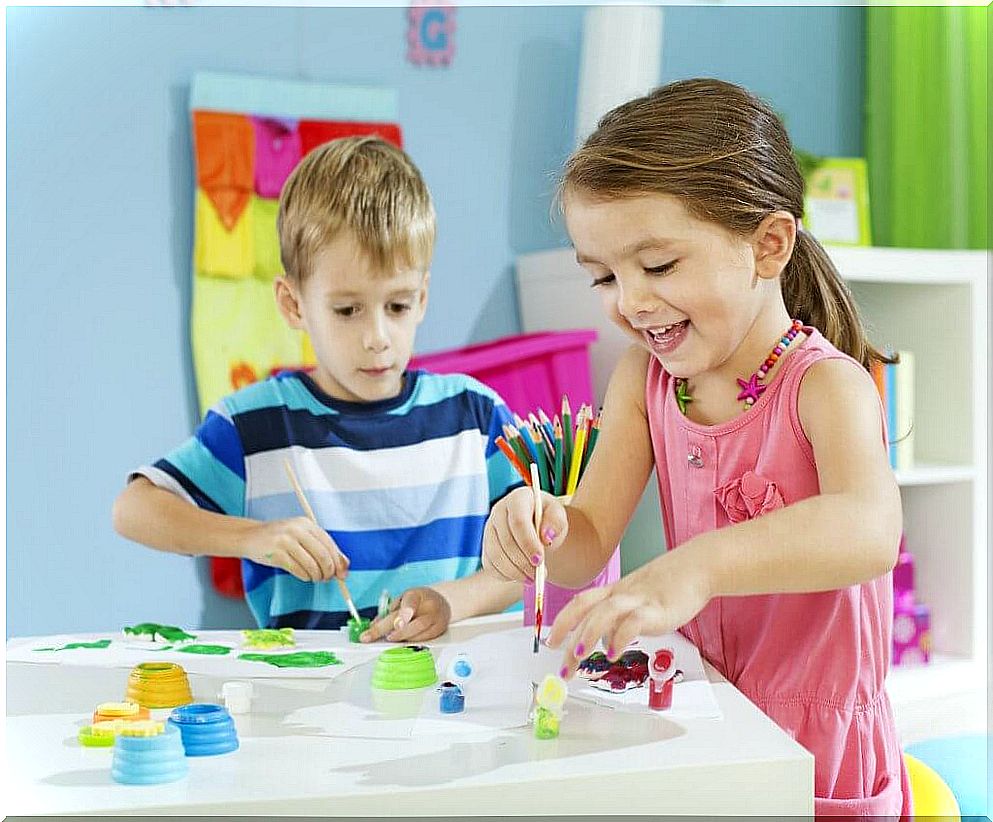
At preschool age, when children are more willing to participate and play, it is always a good idea to propose some crafts for them to make. With paints, glues and some recyclable materials, it is possible to make beautiful handicrafts for children.
The opportunity is always favorable to share productive moments with the family, awaken creativity, strengthen bonds, promote values such as cooperation and teamwork, and even emphasize the importance of recycling to preserve the resources and quality of the environment environment.
Craft Ideas for Young Children
Preschoolers will love participating in these craft activities. Of course, you must assign tasks that match the child’s abilities. Enjoy the moment together with your child and surprise the family with these beautiful handicrafts made by his hands.
1. Handprint
For starters, you can take your child’s handprints from time to time to check their growth rate. You can also make prints for other family members, as this is not just a children’s craft.
Materials
- Clay
- a plastic dish
- Paints of various colors
Step by step
- Crush the clay and make a ball.
- With a rolling pin, straighten it out and place it on the plate.
- Press the child’s hand into the clay to shape it.
- After drying, paint with the colors of your choice.
2. Butterfly pencil holder
The variety of colors of the butterflies makes it possible to make a pencil holder for each member of the family. There are no limits to awakening creativity. On commemorative dates, such as birthdays, the child can make a gift that represents the family.
Materials
- Toilet Paper Roll Tubes
- Cardboard or cardboard
- Permanent marker or black pen
- colored adhesive tapes
- Glue
- silicone glue
- Colored inks or papers
Step by step
- Line the toilet paper tube with cardboard and glue or paint it if you like.
- Draw the butterfly’s eyes on the paper tube.
- On the inside of the tube, use silicone glue to attach the colored ribbons. They will be the butterfly’s antennae.
- Draw the butterfly’s wings on the cardboard. You can paint or decorate them with colored paper.
- Join both pieces together with glue.
- Make several cuts, such as flaps, on one end of the tube. Fold the flaps outward and cut the tube into a circle shape. Your pencil holder will be ready.
3. Pig mask
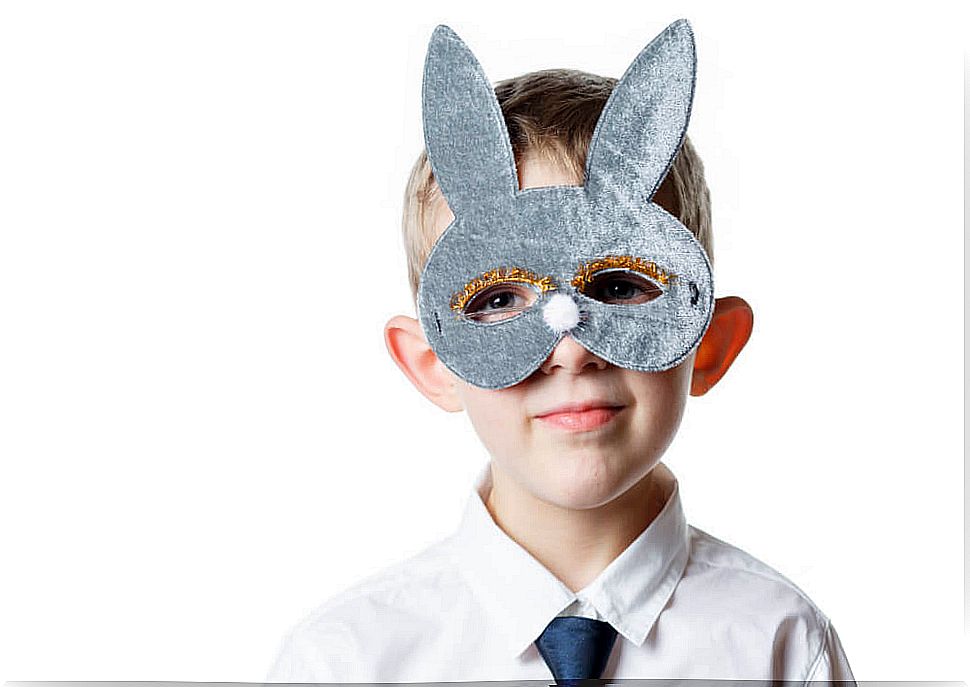
To continue, the proposal is to make a pig mask and, with a little imagination, it will be possible to make masks of other animals (tigers, cats, dogs, rabbits, etc.). What will change is only the color scheme and the shape of the ears, according to the chosen animal.
Materials
- Paper plate
- Small disposable plastic cup
- Silicone glue or glue
- Rubber elastic or other thin elastic
- pink paint
- Cardboard or cardboard
- Permanent marker or black pen
Step by step
- Paint the plate and cup with pink paint. Let it dry.
- Draw the shape of the eyes with the marker and cut them out.
- Draw the shape of the cup on the plate and cover the design with white glue or silicone glue. Also apply glue to the edge of the glass and glue it to the plate.
- Draw the holes for the pig’s nose in the cup and, underneath, make the mouth.
- Draw the pig’s ears on cardboard or cardstock and paint them pink.
- After the ears dry, glue them to the plate.
- Punch small holes in the sides and pass the elastic so that the child can fasten the mask to their head.
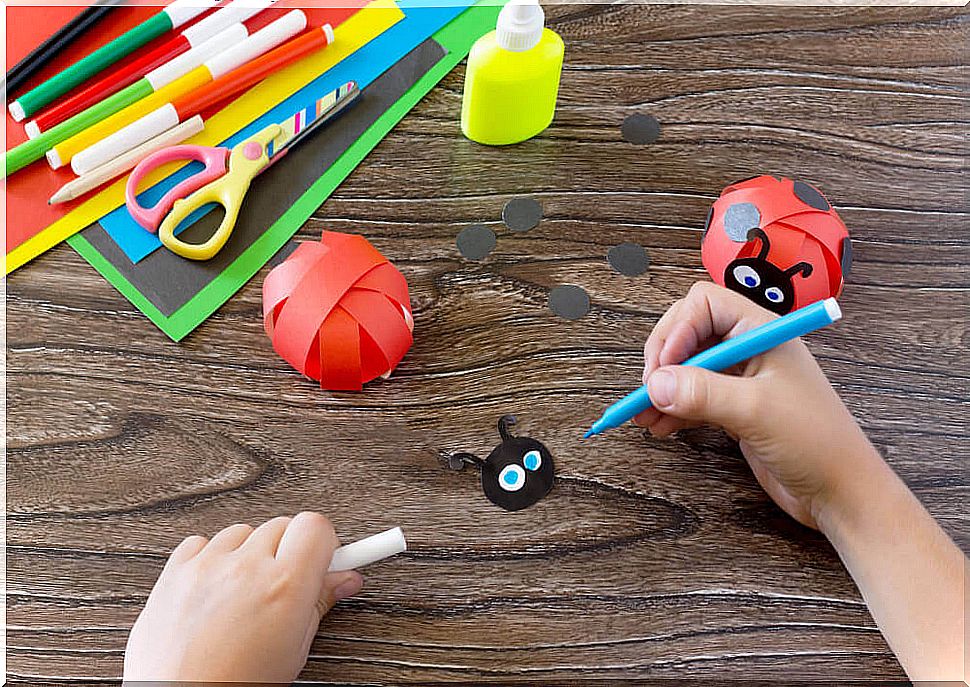
4. Cardboard caterpillars
To continue, another option is to make, with a single egg carton, two caterpillars. You can vary the colors of each one. They can become a great decorative element for a child’s room or they can be a good souvenir to give away to birthday party guests. This is one of the most creative and easiest crafts to do.
Materials
- Egg tray or egg carton (one dozen)
- Paints of various colors
- Straw
Step by step
- Cut the tray or box in half.
- Paint each half green.
- Cut the straw into four pieces to make the antennae for each caterpillar.
- Punch holes in one end to pass the two pieces of straw.
- Paint the eyes of each caterpillar.
- If you like, you can also paint spots along the body of each caterpillar, or you can texture them with papier-mâché.
5. Picture frame
Finally, a picture frame with a photo of the family, grandparents with the newborn baby, of your child with the first baby tooth, to place in a corner where the photos are kept at home or on your office desk , is always a beautiful memory that refers to the love one has for the family, or a great gift for any member of the family.
Materials
- ice cream sticks
- Cardboard or cardboard (two colors)
- Ink (two colors)
- Glue
- String
Step by step
- Place a drop of glue on the end of the ice cream sticks and glue them together to form a square.
- Make the pattern of the square on cardboard of one color and cut it out in the shape made.
- Apply glue to the extension of the toothpicks and glue them on the cardboard. The frame base is ready.
- Take cardboard in a different color and make a square a little smaller than the one you cut out earlier.
- Glue the smaller square to the base of the frame.
- Decorate the ice cream stick square with paint the same color as the cardboard.
- Paste a photo into the smaller square.
- Glue a piece of string to the back of the frame base. Let it dry and you’re done!